Easy No-Butter Waffles: Dairy-Free, Fluffy & Freezer-Friendly for Perfect Mornings
Imagine waking up to the aroma of warm, golden waffles, perfectly crispy on the outside, incredibly fluffy within, and all achieved without a single pat of butter. Sounds like a dream, right? Well, it's a delicious reality! If you've been searching for a versatile, pantry-friendly waffle recipe that delivers on taste and texture while skipping the dairy, your quest ends here. Our guide to making no butter needed fluffy waffles will revolutionize your breakfast routine, proving that you don't need butter for a truly exceptional waffle experience.
Whether you're navigating dietary restrictions, looking to reduce saturated fats, or simply ran out of butter, these dairy-free wonders are your new go-to. They're quick to whip up, rely on common ingredients you likely already have, and best of all, they're incredibly freezer-friendly, making them perfect for busy school mornings or quick weekend brunches.
The Secret to Fluffiness: Butter Alternatives That Work Wonders
The magic behind these incredibly light and fluffy waffles lies in smart ingredient swaps that maintain moisture and structure without needing butter. When it comes to creating no butter needed fluffy waffles, two primary contenders shine:
- Applesauce: The Health-Conscious Choice
One of the most popular and effective butter substitutes is unsweetened applesauce. Not only does it add a subtle natural sweetness, but its pectin content also contributes to a wonderfully moist and tender crumb. Applesauce provides the necessary moisture and helps bind the ingredients, mimicking some of butter's textural contributions. The result is a lighter waffle that still boasts incredible softness and that desirable "fluffy" characteristic. This swap is particularly appealing for those looking for a healthier alternative or wanting to reduce overall fat content. For more on this, check out Fluffy Waffles: The Applesauce Secret to a No-Butter Breakfast. - Vegetable Oil: For Classic Crispness and Richness
Another fantastic alternative is a neutral-flavored vegetable oil, such as canola, sunflower, or grapeseed oil. Oil provides the necessary fat content that contributes to a golden, crispy exterior and a tender interior. Unlike butter, which contains water and milk solids that can affect crispness, pure oil offers consistent fat for a predictable, delightful texture. While applesauce tends to create a lighter, more cake-like waffle, vegetable oil often leans towards a slightly richer taste and a more pronounced crispness without any dairy.
Both applesauce and vegetable oil are excellent options, and your choice might depend on your preference for texture, health goals, or simply what you have on hand. The beauty is, regardless of which you choose, you're guaranteed a delicious, dairy-free waffle that's far superior to any boxed mix.
Whip Up Your Waffles: A Simple Step-by-Step Guide
One of the greatest appeals of this recipe is its sheer simplicity. You don't need fancy equipment or culinary expertise to achieve perfect no butter needed fluffy waffles. It's truly a "pantry recipe," meaning you're likely to have all the ingredients readily available for a spontaneous waffle craving.
Gather Your Simple Ingredients:
- All-purpose flour
- Baking powder (this is key for lift and fluffiness!)
- Salt (enhances flavor)
- Granulated sugar (just enough for a touch of sweetness and browning)
- Large eggs (or flax eggs for a vegan option)
- Milk (dairy or your favorite plant-based milk like almond, soy, or oat)
- Unsweetened applesauce OR neutral vegetable oil
- Vanilla extract (for that comforting aroma and flavor)
The Easy Process:
- Combine Dry Ingredients: In a large mixing bowl, whisk together the flour, baking powder, salt, and sugar. This ensures even distribution of the leavening agent and seasoning.
- Add Wet Ingredients: In a separate bowl (or directly into the dry mixture if you're feeling efficient), add the eggs, milk (warm milk can help prevent lumps, especially with applesauce), applesauce or oil, and vanilla extract.
- Mix Until Just Combined: Pour the wet ingredients into the dry ingredients. Stir gently until the batter is mostly smooth and well combined. A few small lumps are perfectly fine – do not overmix! Overmixing develops the gluten in the flour, leading to tough, chewy waffles instead of light and fluffy ones.
- Heat Your Waffle Iron: While your batter rests for a few minutes, preheat your waffle iron. Most modern irons have an indicator light when they're ready. A properly heated iron is crucial for that desirable crisp exterior.
- Cook to Golden Perfection: Scoop the batter onto the center of your preheated waffle iron. Fill it enough so the batter spreads approximately 1/2 to 1/4 inch away from the edges – this prevents overflow. Close the lid and cook for about 4-6 minutes, or until the waffle is golden brown and the indicator light (if your iron has one) signals it's done. Cooking times may vary depending on your specific waffle iron.
- Serve Warm: Carefully remove the cooked waffle and place it on a wire rack or directly onto plates to serve immediately.
Repeat the cooking process with the remaining batter. This simple method ensures consistently delicious results every time you crave no butter needed fluffy waffles.
Beyond the Batter: Serving Suggestions & Customization
The beauty of these dairy-free waffles is their incredible versatility. Their balanced flavor profile makes them a perfect canvas for a myriad of toppings, allowing you to customize each serving to your liking. Here are some ideas to elevate your waffle experience:
- Classic Sweet Toppings:
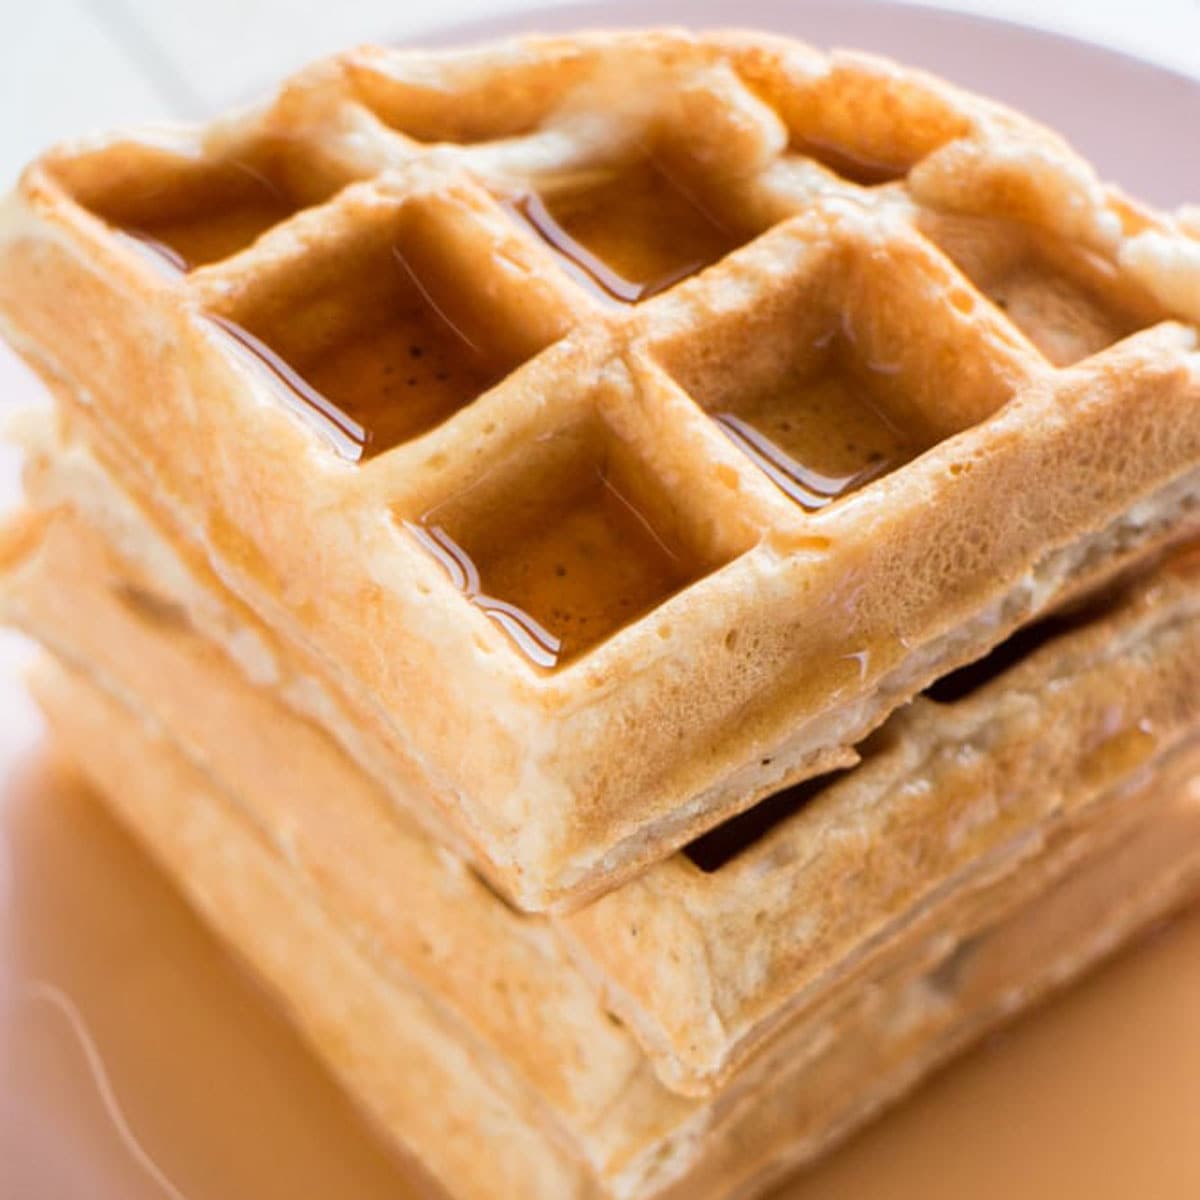
- Maple Syrup: Always a timeless choice.
- Fresh Fruit: Berries (strawberries, blueberries, raspberries), sliced bananas, or peaches add freshness and natural sweetness.
- Whipped Cream: Opt for a dairy-free whipped topping made from coconut cream or almond milk for a truly dairy-free indulgence.
- Powdered Sugar: A simple dusting for elegance.
- Fruit Compote: Warm berries simmered with a touch of sugar.
- Chocolate Chips: Stir them directly into the batter or sprinkle on top.
- Savory Twists:
While often associated with sweetness, waffles can also be a fantastic base for savory dishes. Try topping them with:
- Fried chicken (for chicken and waffles!)
- Scrambled eggs and a sprinkle of chives
- Avocado and a dash of hot sauce
- Flavor Enhancements for the Batter:
- Spices: Add 1/2-1 teaspoon of cinnamon, nutmeg, or pumpkin pie spice to the dry ingredients for a warm, aromatic touch.
- Citrus Zest: A teaspoon of lemon or orange zest can brighten the flavor profile.
- Extracts: Beyond vanilla, try almond extract for a nutty note or a few drops of coconut extract.
- Making Them Fully Vegan:
This recipe is incredibly adaptable for a completely plant-based diet. To make your no butter needed fluffy waffles fully vegan:
- Milk Swap: Replace regular milk with any plant-based milk (almond, soy, oat, cashew, or rice milk all work wonderfully).
- Egg Swap: Substitute each large egg with a "flax egg." To make one flax egg, combine 1 tablespoon of ground flaxseed meal with 3 tablespoons of water, stir, and let it sit for 5-10 minutes until it thickens to a gel-like consistency.
These simple adjustments ensure everyone can enjoy these fantastic waffles, regardless of dietary preferences.
Smart Storage & Reheating for Busy Mornings
One of the biggest advantages of these no butter needed fluffy waffles is their freezer-friendly nature, making them an ideal candidate for meal prepping. Imagine having a stack of homemade waffles ready to go on a whim, without the fuss of mixing batter!
Proper Storage Techniques:
- Cool Completely: This is the most crucial step to prevent soggy waffles. After cooking, immediately place your waffles on a wire rack to cool completely to room temperature. This allows steam to escape, keeping them crisp.
- Refrigeration: Once cooled, place leftover waffles in an airtight container or a zip-top bag. They will keep well in the refrigerator for up to 3 days.
- Freezing for Longer Storage:
- Flash Freeze: Arrange the cooled waffles in a single layer on a baking sheet. Place the baking sheet in the freezer for about 1-2 hours, or until the waffles are solid. This prevents them from sticking together when stored in bulk.
- Transfer to Storage: Once flash-frozen, transfer the solid waffles to a freezer-safe bag or an airtight container. They will maintain their quality in the freezer for up to 2 months. Label with the date for best practice.
Effortless Reheating:
The beauty of frozen waffles is how easily they reheat, often becoming even crispier than when fresh!
- Toaster or Toaster Oven: For the best results, pop frozen waffles directly into a toaster or toaster oven. Heat until warmed through and crisp, usually taking a few minutes depending on your appliance. This method is fantastic for restoring that golden, crunchy exterior.
- Conventional Oven: Preheat your oven to 300-350°F (150-175°C). Place frozen waffles directly on a baking sheet and heat for 5-10 minutes, or until warm and slightly crispy.
- Microwave (Use with Caution): While convenient, microwaving is generally not recommended for waffles as it tends to make them soft and chewy rather than crisp. If you must use a microwave, heat for only 30-60 seconds from frozen, then quickly transfer to a toaster or pan-fry to regain some crispness.
With these smart storage and reheating tips, you can enjoy homemade no butter needed fluffy waffles on even the busiest of mornings, making healthy, delicious breakfasts a breeze.
Embrace the Butter-Free Waffle Revolution!
Say goodbye to the notion that butter is non-negotiable for incredible waffles. This comprehensive guide has shown you how to create easy, dairy-free, and delightfully fluffy waffles using simple pantry staples like applesauce or vegetable oil. From their straightforward preparation to their incredible versatility and freezer-friendly nature, these no butter needed fluffy waffles are a game-changer for anyone seeking a delicious, convenient, and adaptable breakfast option. So, preheat your waffle iron, gather your ingredients, and get ready to enjoy a stack of homemade perfection!
